Start an exciting journey to make your own custom gaming PC. This guide will help you pick the best parts, check if they work together, and build a strong, personal gaming machine. It will meet your needs and performance wants.
Key Takeaways
- Discover the benefits of building a custom gaming PC, including tailored performance, cost-effective customization, and future-proof upgradability.
- Learn how to choose the right CPU, GPU, and other essential components to build a powerful and personalized gaming system.
- Understand the importance of hardware compatibility and how to ensure your chosen parts work seamlessly together.
- Follow a step-by-step guide to assemble your custom gaming PC, from installing the CPU and cooler to configuring the operating system and software.
- Explore techniques for optimizing your gaming rig’s performance, including overclocking and cooling strategies.
Unleash Your Gaming Potential: Why Build a Custom PC?
Building your own gaming PC has many benefits over buying one. You get tailored performance, cost-effective customization, and future-proof upgradability. This lets you create a machine that meets your gaming dreams and boosts your gaming skills.
Tailored Performance
Building a custom PC means you choose each part yourself. Whether you’re into competitive gaming or just for fun, you can pick the CPU, GPU, and more. This ensures your system runs smoothly and gives you an amazing gaming experience.
Cost-Effective Customization
Building a custom PC lets you manage your budget well. You pick the parts you really need, avoiding extras. This way, you get a system that fits your budget and meets your gaming needs.
Future-Proof Upgradability
With a custom PC, you can keep up with gaming tech changes. You focus on parts that are easy to upgrade. This means your PC can stay current and powerful for years, saving you money in the long run.
Choosing to build your own gaming PC opens up new possibilities. It’s a chance to take your gaming to the next level. Get ready to explore new gaming heights.
Selecting the Ideal Components
Building a custom gaming PC starts with picking the right parts. The CPU and GPU are key. They work together to make games look and run great.
CPU: The Brains of Your System
The cpu is the heart of your gaming PC. It handles game logic and system resources. The right cpu boosts your gaming performance.
Look at the number of cores, clock speed, and architecture. These affect how well the cpu handles games.
GPU: The Powerhouse for Graphics
The gpu is the graphics powerhouse. It renders visuals, handles 3D modeling, and ensures smooth frame rates. The latest gpu models offer top performance and features like ray tracing.
Choosing the right cpu and gpu makes your gaming PC exceptional. It meets your gaming needs and preferences.
| Component | Key Factors | Impact on Gaming Performance |
|---|---|---|
| CPU |
|
|
| GPU |
|
|
By balancing the cpu and gpu performance, you enhance your gaming experience. Your custom pc components setup will take your gaming to new levels.
Understanding Hardware Compatibility
Building a custom gaming PC means making sure all parts work well together. This is key for a smooth and powerful system. Every component, from the CPU to the graphics card, must fit perfectly.
It’s important to check each part’s needs before buying. Look at socket types, memory speeds, and power use. This way, you can avoid problems and make sure your PC runs smoothly.
Identifying Compatibility
Finding compatible parts is a big step in building a gaming PC. It can be hard, but there are tools to help:
- Check the official websites of part makers for details and advice.
- Use online tools to see if your parts will work together.
- Ask experts in forums for tips on building a good system.
Doing your homework on part compatibility can save you from mistakes. It helps make sure your PC runs great and gives you the best gaming experience.
| Component | Compatibility Considerations |
|---|---|
| CPU | Socket type, chipset compatibility, integrated graphics support |
| Motherboard | Socket type, chipset, memory support, expansion slots |
| Graphics Card | PCIe interface, power requirements, physical size |
| Memory (RAM) | Memory type, speed, and compatibility with the motherboard |
| Storage Drives | Interface (SATA, M.2, etc.), capacity, and compatibility with the motherboard |
| Power Supply | Wattage, connectors, and compatibility with other components |
Thinking about these hardware compatibility points helps you build a great gaming PC. It ensures your system works well and performs at its best.
Build a Custom Gaming PC: A Step-by-Step Guide for Beginners
Building a custom gaming PC is a rewarding experience. You’ll get a machine that meets your gaming needs and learn new skills. In this guide, I’ll show you how to build your own custom gaming PC step by step.
First, let’s get all the parts you need. You’ll need a CPU, GPU, motherboard, RAM, storage, power supply, and a case. Check our section on Selecting the Ideal Components to pick the right parts.
- Start by installing the CPU. Align the pins and gently lower the CPU into the socket. Secure it with the locking mechanism.
- Next, attach the CPU cooler. Apply a pea-sized amount of thermal paste to the CPU. Then, place the cooler on top and secure it as instructed.
- Install the motherboard into the case. Align the I/O panel and secure it with the standoffs provided.
- Install the RAM by aligning the notches and pressing the modules into the slots until they click.
- Mount the power supply unit (PSU) inside the case. Make sure it’s oriented to draw in cool air from outside.
- Connect the GPU to the PCIe slot on the motherboard. Then, route the power cables from the PSU to the GPU.
- Install the storage drives, whether it’s an SSD, HDD, or a combination. Screw them into the designated drive bays.
- Lastly, connect all the front panel connectors to the motherboard headers.
Once everything is connected, power on your custom build a custom gaming pc. Install the operating system, update drivers, and configure software. With your custom custom pc builds ready, you’re ready for an amazing gaming experience.

“The joy of building a custom gaming PC is not just in the end result, but in the journey itself. Embrace the challenge and unleash your inner tech enthusiast.”
Assembling the Pieces: A Hands-On Approach
Building a custom gaming pc is a rewarding experience. It lets you create a system that meets your specific needs. But, the assembly process might seem overwhelming at first. Don’t worry, I’ll walk you through the key steps of installing the cpu and cooler, and mounting the motherboard.
Installing the CPU and Cooler
Installing the cpu is a vital first step. Start by carefully removing the cpu from its packaging. Be gentle to avoid touching the delicate pins. Place it into the cpu socket on your motherboard, making sure it fits perfectly.
Next, attach the cpu cooler. Apply a small amount of thermal paste to the cpu’s center. Then, press the cooler onto the cpu firmly, following the manufacturer’s instructions. This step is crucial for keeping your cpu cool and stable during gaming.
Mounting the Motherboard
With the cpu and cooler installed, focus on the motherboard. Place the motherboard into the case, aligning the rear ports with the cutout. Use the standoffs provided to secure it, tightening each one evenly. This ensures your custom gaming pc is stable and strong.
By carefully installing the cpu and cooler, and mounting the motherboard, you’ve set the stage for a powerful gaming system. Stay tuned for the next steps in building your dream cpu-powered gaming rig.
Configuring Your Gaming Rig
Building your custom gaming PC is exciting. Now, it’s time to set it up for gaming. This step is crucial for the best gaming experience. Let’s explore how to get your new gaming rig ready.
Installing the Operating System
The heart of your gaming PC is the operating system. You can choose Windows or Linux. The installation is easy. Just follow the on-screen steps to pick your operating system.
This sets the stage for installing drivers and software. These will make your PC configuration top-notch.
Updating Drivers and Software
After installing the OS, update your system. Make sure your drivers and software are current. This boosts stability, performance, and security.
Take your time to find and install the right updates. This is key for your PC configuration.
By following these steps, your custom gaming PC is ready for action. Remember, keeping it updated is an ongoing task. Stay on top of it to ensure your system runs smoothly.

Optimizing for Peak Performance
As a gamer, I always look for ways to get the most out of my custom gaming PC. Two key methods are overclocking and using good cooling strategies. Let’s explore these techniques to unlock your gaming rig’s full potential.
Overclocking Basics
Overclocking means making your computer’s parts, like the CPU and GPU, work faster. This can make your games run smoother. But, it’s important to do it carefully to avoid damage. You need to know the safe limits for your hardware.
Cooling Strategies
When you overclock, your computer gets hotter. A good cooler, like a liquid or air one, helps keep it cool. Also, having the right airflow in your PC case is key. It helps keep everything running smoothly.
| Overclocking Considerations | Cooling Solutions |
|---|---|
|
|
Learning how to overclock and using strong cooling systems can make your gaming PC perform better. This will take your gaming to the next level.
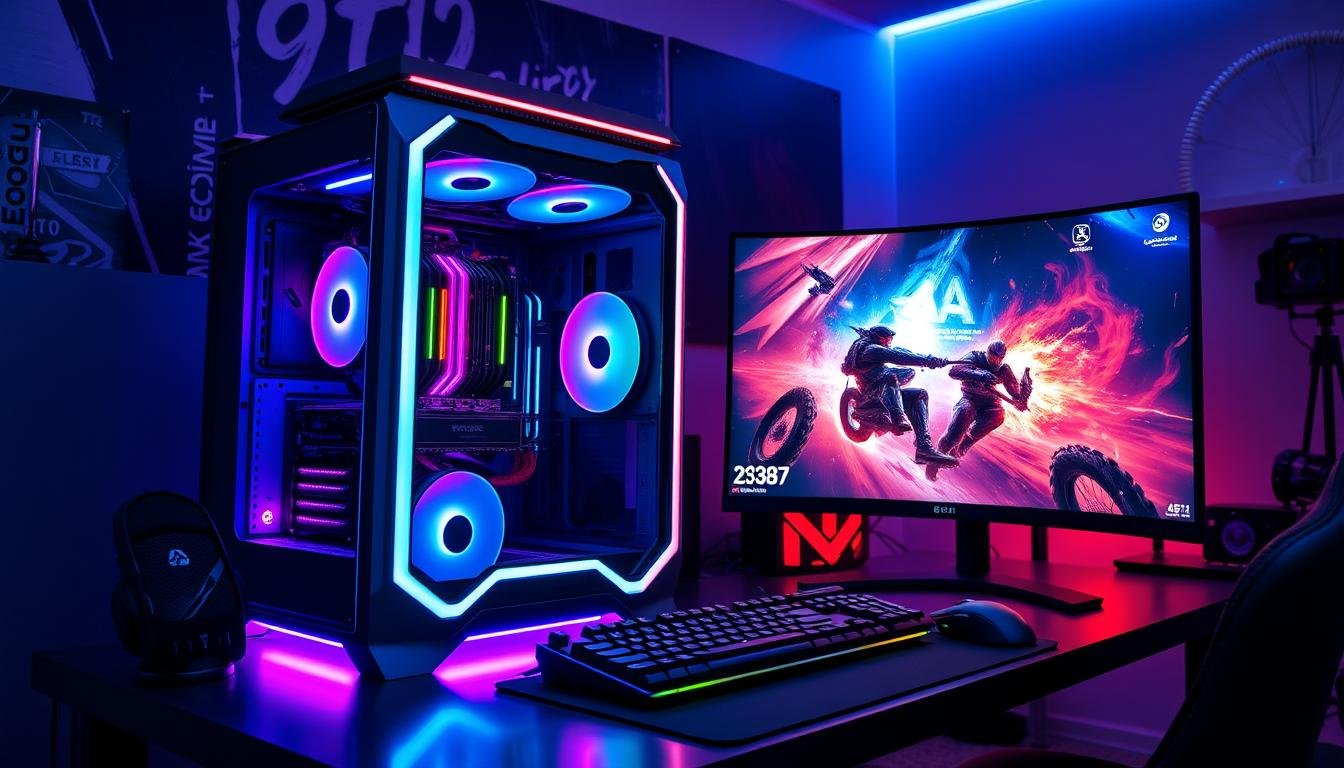
Enhancing Your Gaming Experience
Building a custom gaming PC is just the start. RGB lighting and customization can take your gaming to the next level. These elements let you turn your PC into a unique, immersive centerpiece that shows off your style.
Unlock the Power of RGB Lighting
RGB lighting, with its red, green, and blue hues, is key in gaming PCs. It offers a wide range of colors and effects. You can match your lighting to your mood, game, or personal taste. The options are endless, from subtle touches to full RGB displays.
- Customize your PC’s case, fans, and peripherals with RGB lighting
- Synchronize your RGB components for a cohesive, mesmerizing display
- Experiment with different lighting modes, patterns, and colors to find your perfect setup
Personalize Your Gaming Rig
Customization goes beyond just lighting. You can make your gaming PC truly unique. This includes unique case designs, custom paint, decals, and more. The choices are endless, allowing you to create a one-of-a-kind rig.
- Explore custom case designs that reflect your personal style
- Add personalized decals, stickers, or vinyl wraps to make your PC stand out
- Accessorize with matching peripherals, desk mats, and other gaming gear
Embracing RGB lighting and customization can make your gaming PC a personal and immersive experience. Let your creativity shine and create a rig that’s as unique as you are.
Troubleshooting Common Issues
Building a custom gaming PC can sometimes face unexpected challenges. As an experienced PC enthusiast, I’m here to guide you through common issues. These problems can arise during the build or while using your custom gaming rig. By quickly solving these issues, you can enjoy a seamless gaming experience.
Resolving Hardware Compatibility Problems
Ensuring all components are compatible is a common challenge. If you face compatibility problems, there are steps to identify and solve them. Double-check the specs of your CPU, motherboard, RAM, and other key components. You can also consult the manufacturer’s website or use an online compatibility checker tool.
Troubleshooting Boot-Up and POST Failures
If your custom-built PC won’t boot up or pass the POST stage, there are a few things to check. First, make sure all cables are connected correctly and the power supply is enough for your components. If the problem continues, try reseating the RAM, checking CPU pins, and ensuring the CPU cooler is right. Sometimes, a BIOS update or resetting the CMOS is needed.
Addressing Performance and Stability Issues
After your custom gaming PC is up and running, you might face performance or stability problems. Start by checking your system’s thermals and ensuring it’s cool enough. Overclocking can cause instability, so you might need to adjust settings or go back to stock. Updating drivers, troubleshooting driver conflicts, and running system diagnostics can also help fix issues.
Remember, troubleshooting a custom gaming PC is a journey. With the right steps and patience, you can overcome most challenges. If you can’t solve an issue yourself, don’t hesitate to ask the PC gaming community or seek professional help.
Maintaining Your Custom Gaming PC
Keeping your custom gaming PC in top shape is key for its long-term performance. Regular cleaning and maintenance can extend the life of your computer parts. Upgrading key components can also boost your gaming experience, keeping you ahead of the curve.
Regular Cleaning and Upkeep
Dust and debris can quickly build up inside your gaming PC, causing overheating and potential failure. Clean your system every few months with compressed air and a soft, lint-free cloth. Focus on the fans, heatsinks, and vents to keep them dust-free.
Don’t forget to clean the outside of your PC too. Use a damp cloth to wipe down the case and any exposed surfaces. This keeps your custom gaming rig running smoothly for years.
Upgrading Components Over Time
As technology advances, some components in your custom gaming PC may become outdated. Upgrading key parts, like the central processing unit (CPU) or graphics processing unit (GPU), can greatly improve your gaming experience.
When upgrading, make sure all components are compatible. Check your manufacturer’s guidelines and research thoroughly. This ensures a smooth upgrade process that boosts your PC’s performance.
“Proper maintenance and strategic upgrades are the keys to keeping your custom gaming PC running at its best for years to come.”
| Task | Frequency |
|---|---|
| Clean internal components | Every 3-6 months |
| Clean exterior surfaces | Monthly |
| Upgrade key components | As needed, based on performance |
Conclusion
As we conclude this guide, I hope you now understand the benefits of building a custom gaming PC. You’ve learned how to tailor your PC for better performance and save money. You also know how to upgrade your PC in the future.
Choosing the right parts and making sure they work together is key. This guide has given you the tools to start your own custom PC project. It doesn’t matter if you’re new or experienced; you have all you need to create your dream gaming PC.
Building a custom PC lets you make it just right for you. You can make it fast, add cool lighting, and customize it. This way, you’ll get a gaming experience that’s better than you ever thought possible. So, let’s get started, be creative, and make a gaming PC that will take your gaming to the next level.